


Sharing adventures and stories over the internet has never been easier, especially with the advent of digital cameras and smartphones. Unfortunately, the devices that we have at hand are too delicate for outdoor activities, and one wrong step can render them completely unusable. Thankfully we now have a wide selection of lightweight and waterproof helmet cameras designed to capture videos and photos from atop your head or helmet. Capture your life’s greatest adventures right from the center of the action with the best helmet cameras available.
What Is a Helmet Camera?

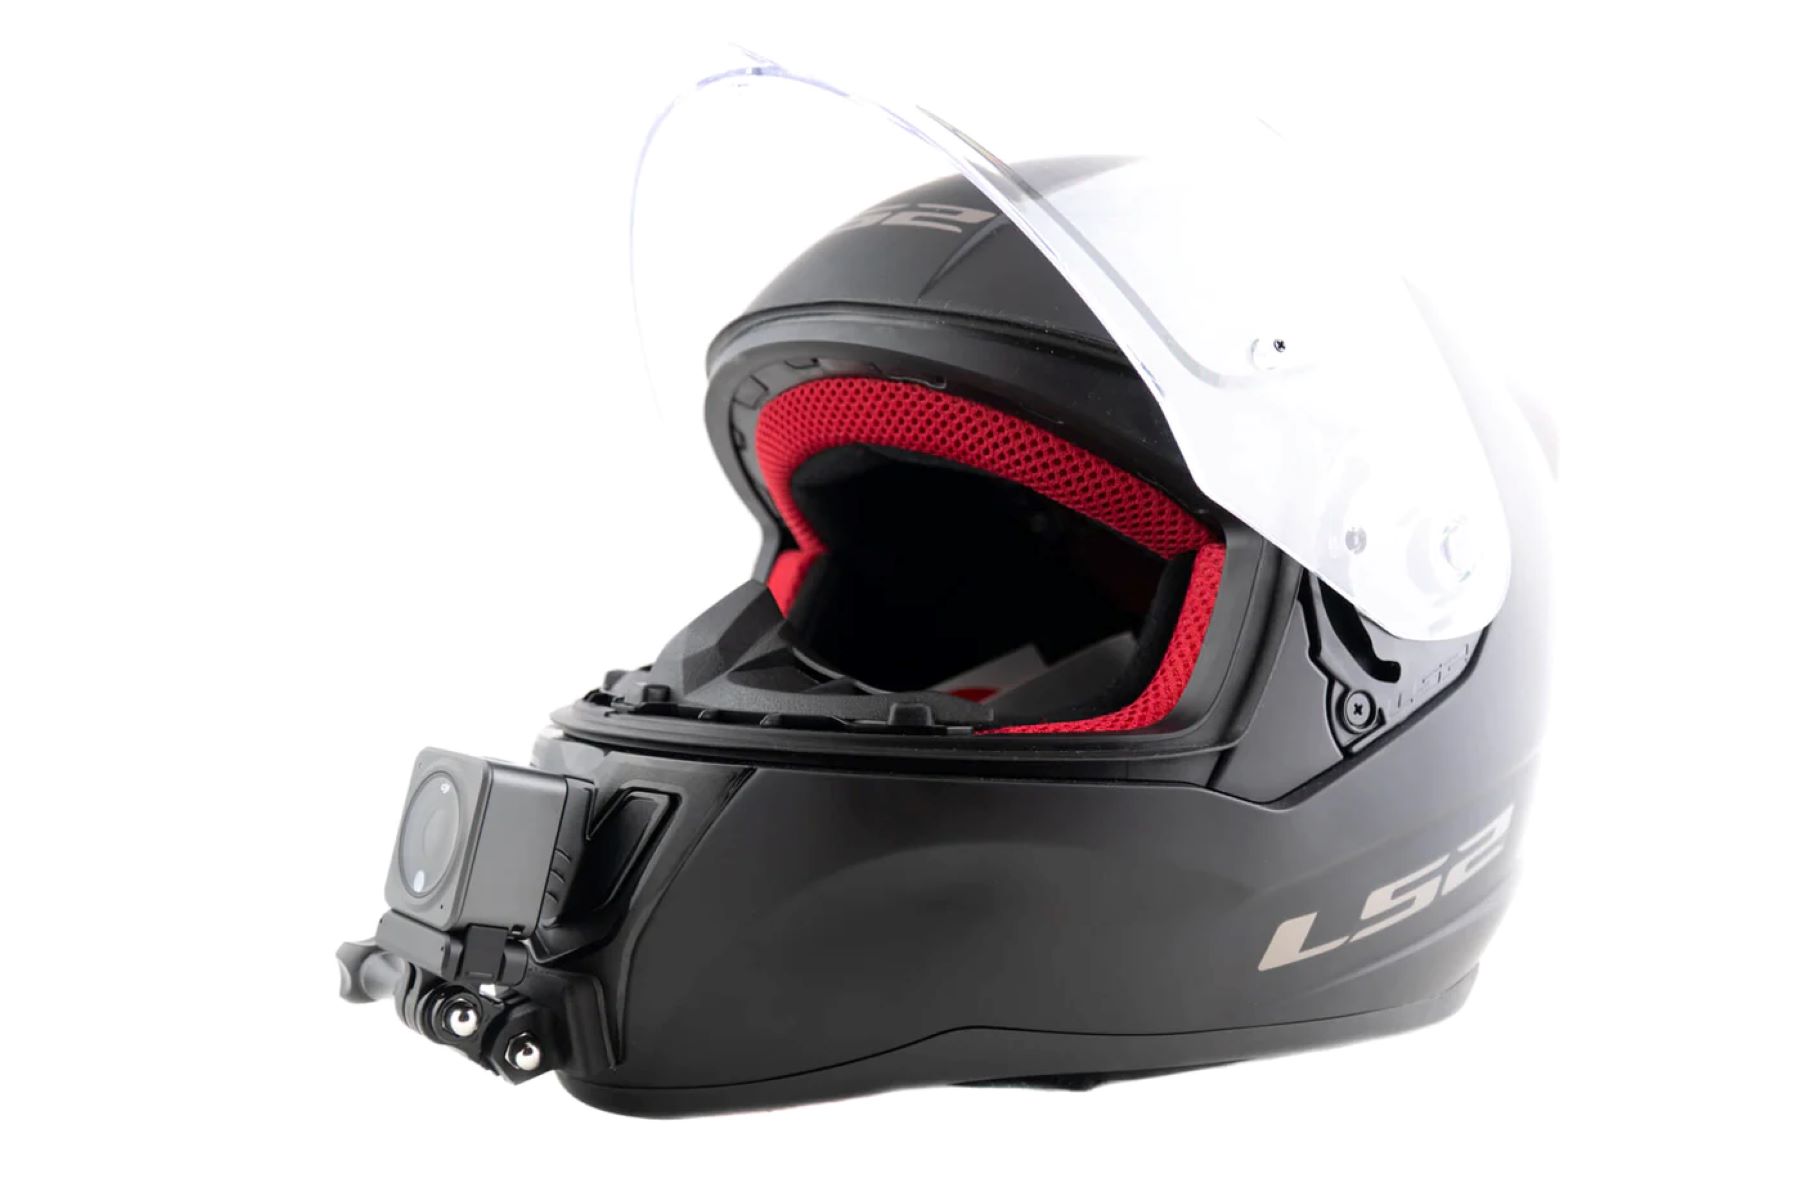
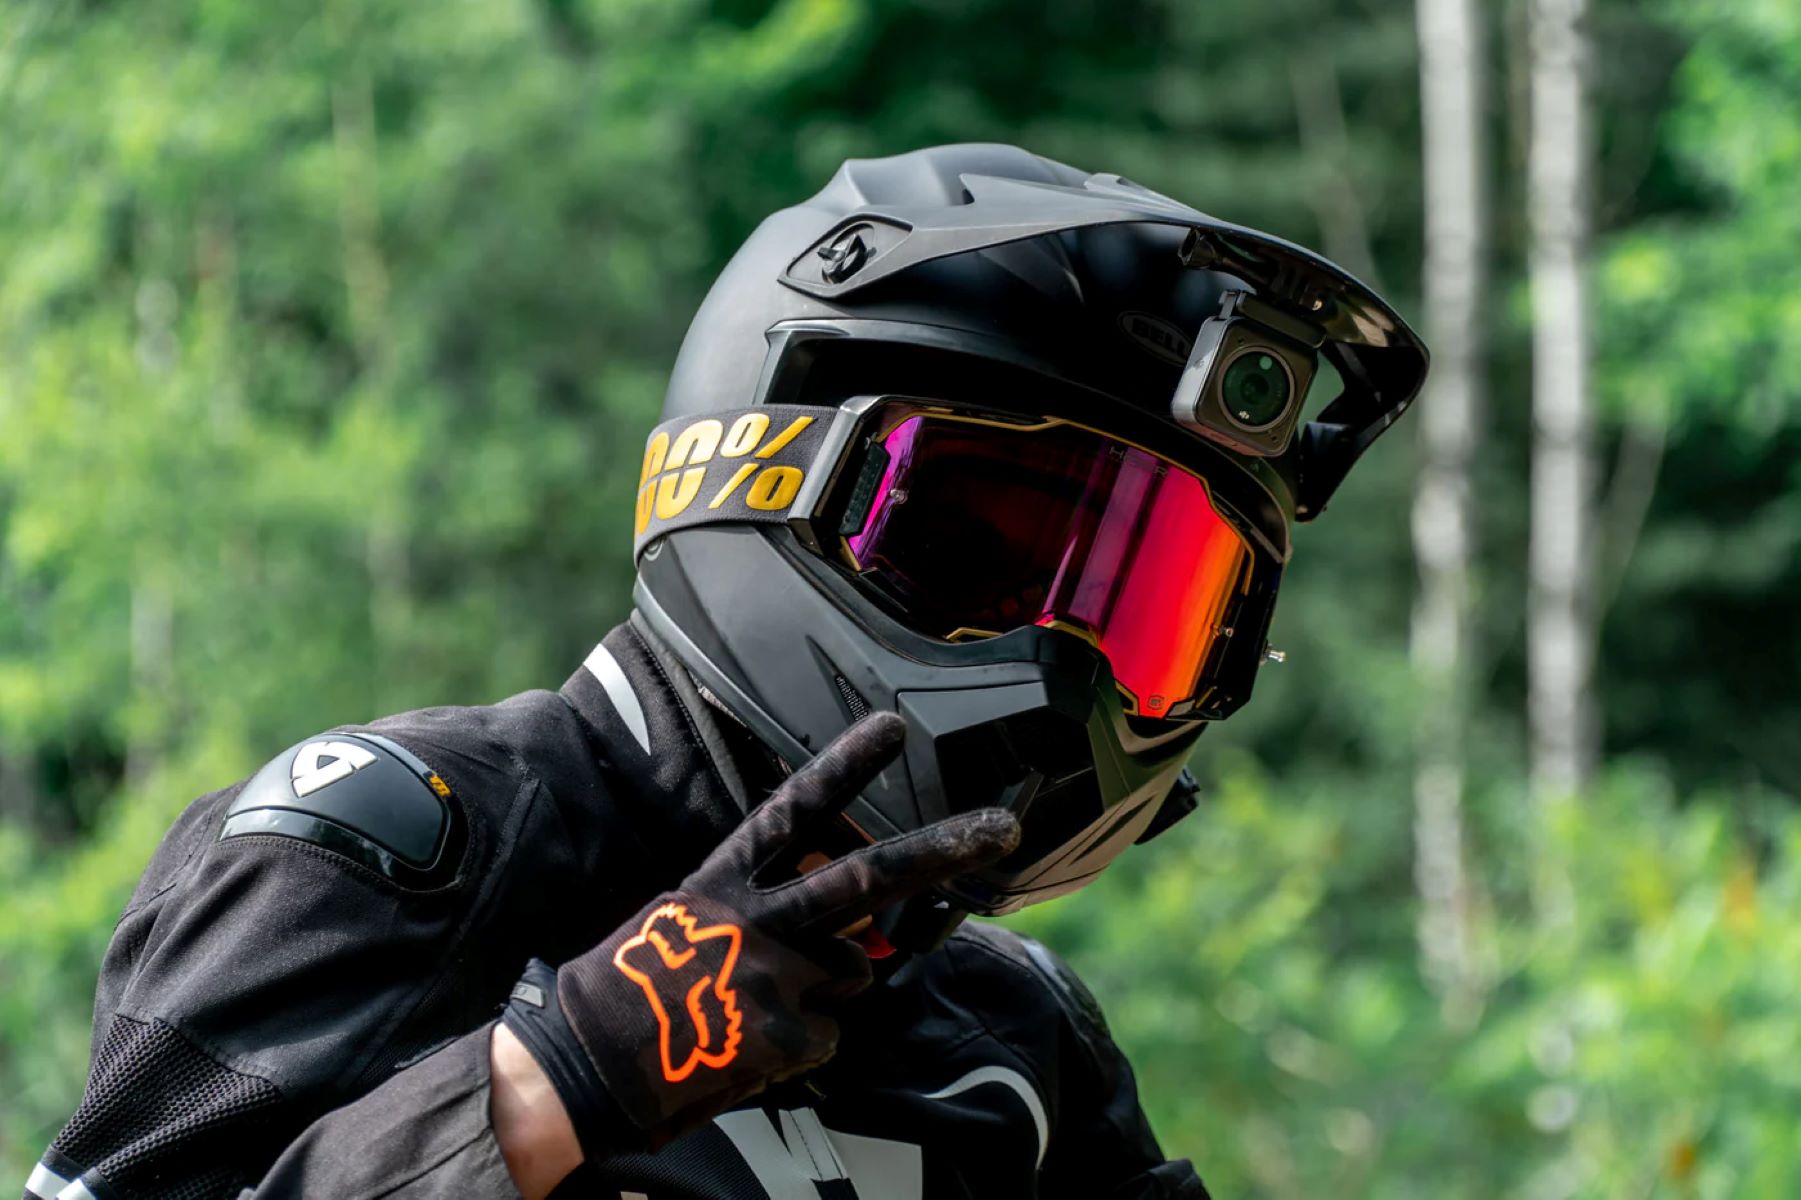
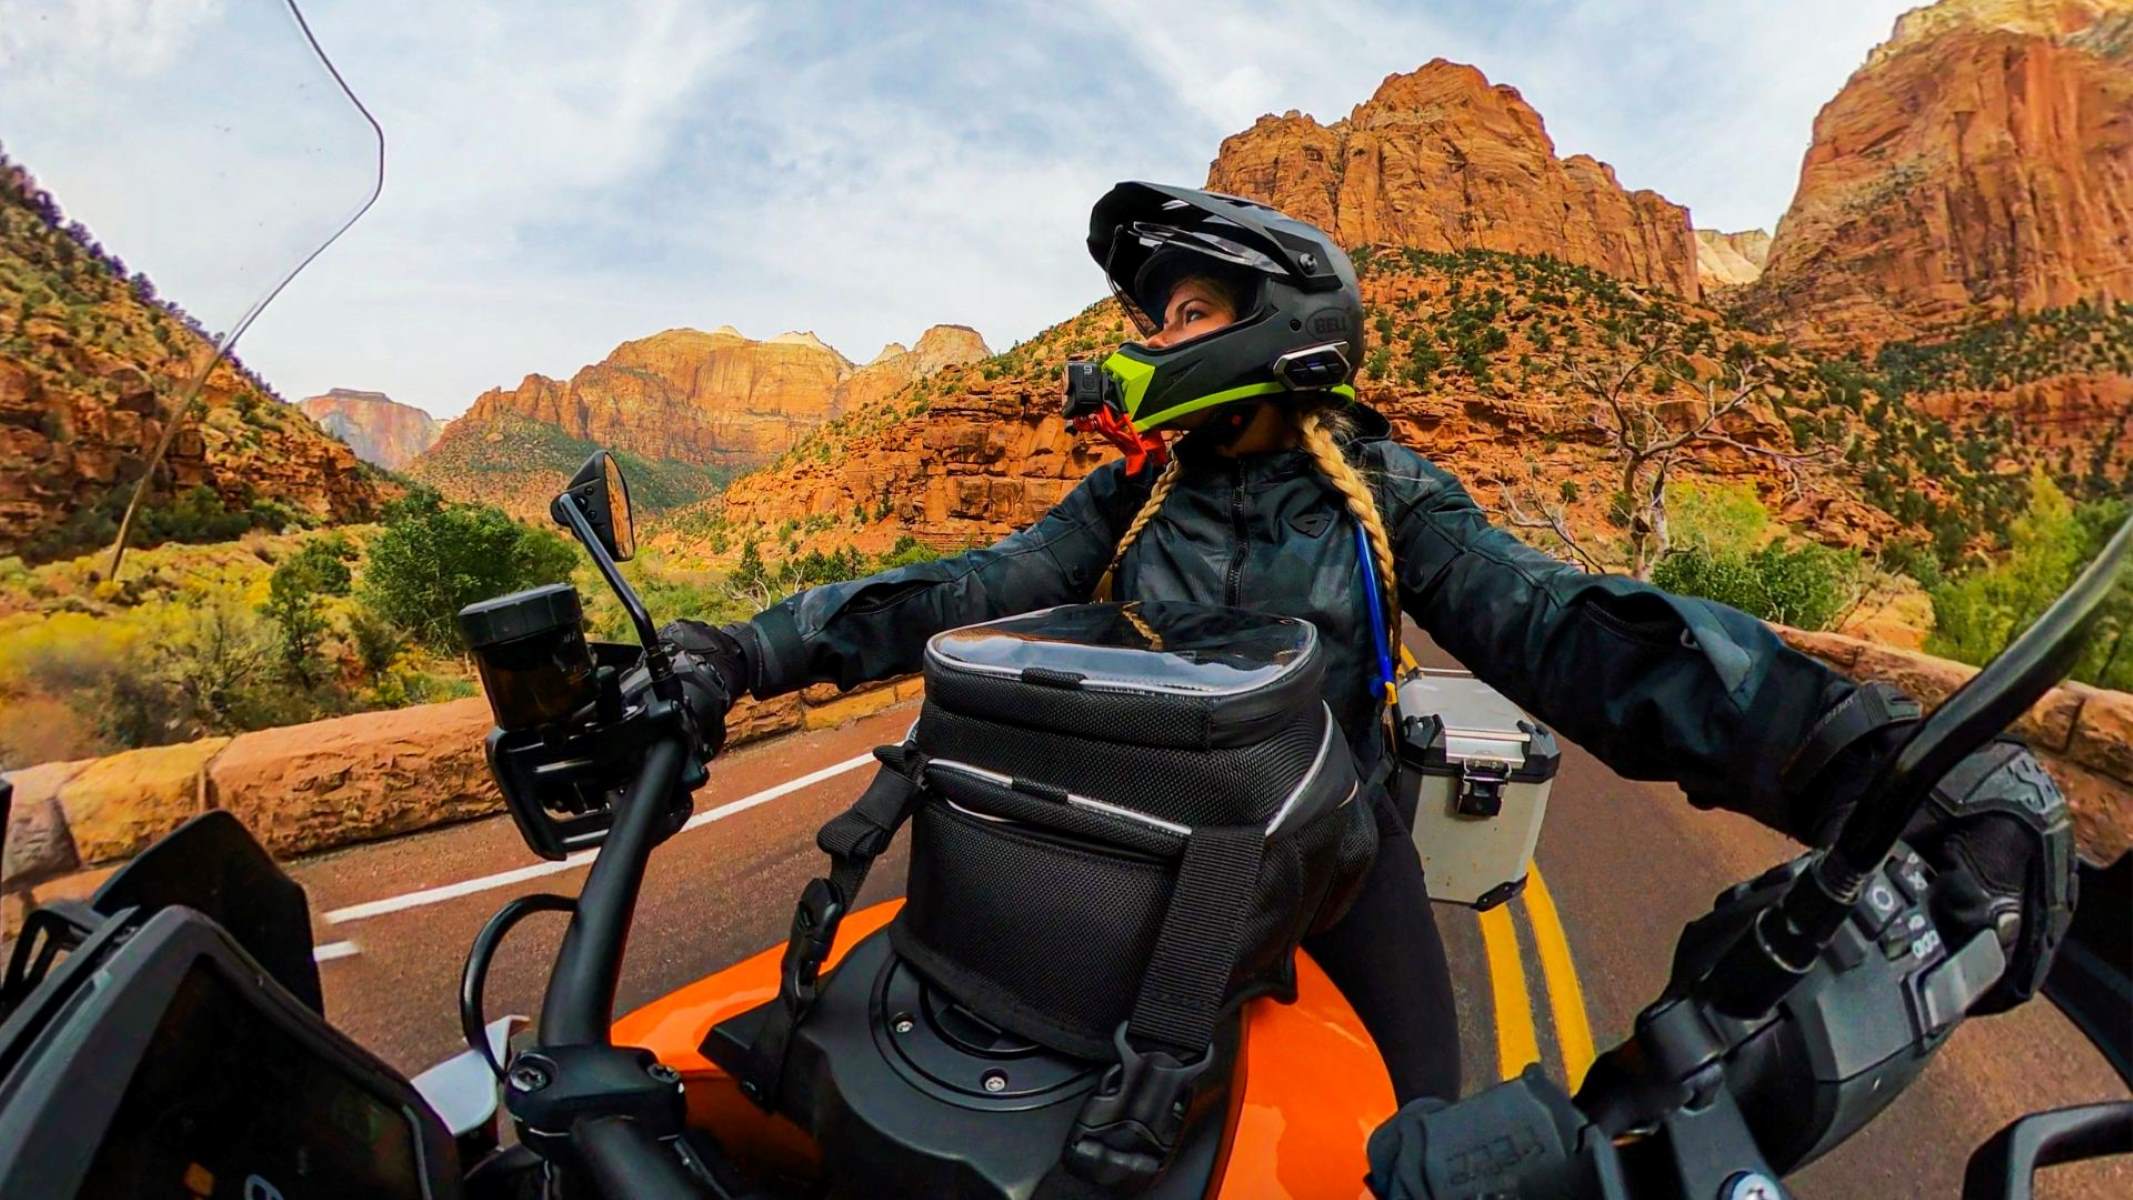
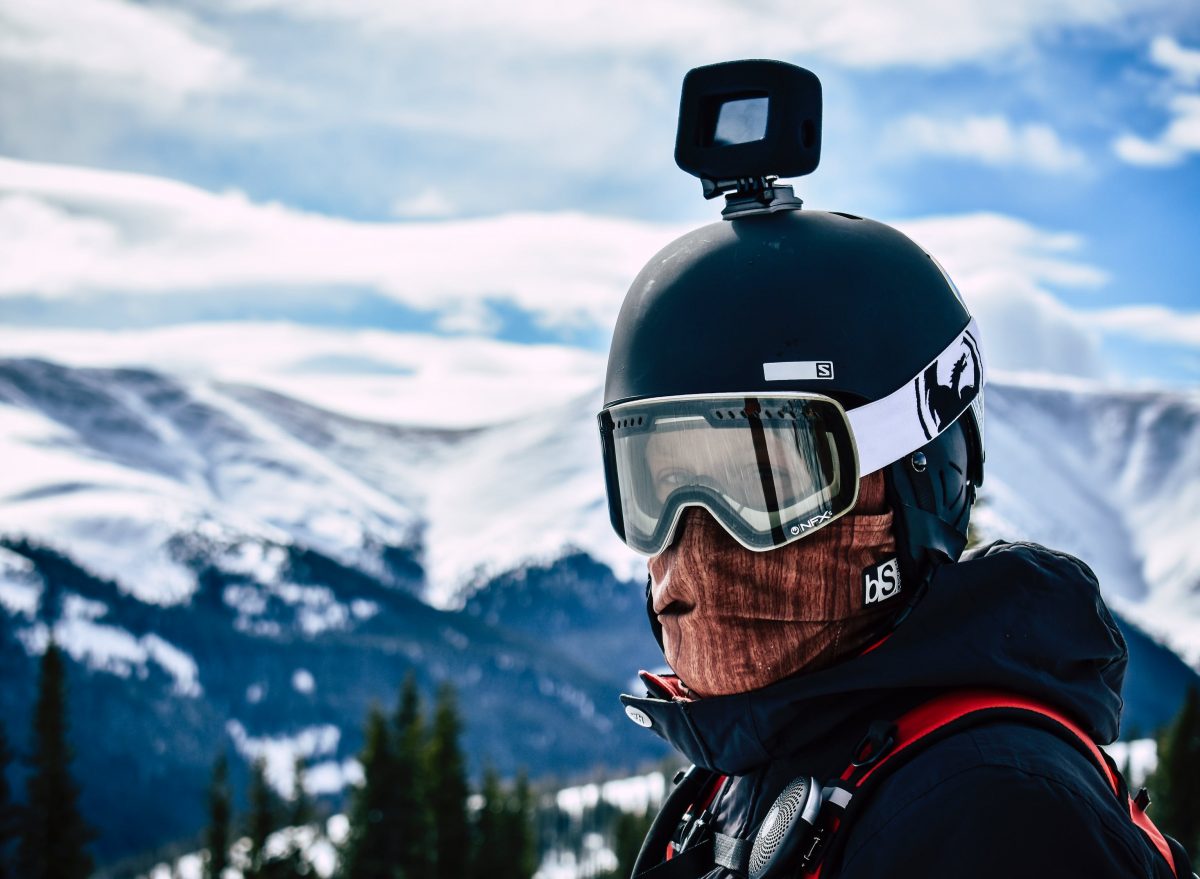
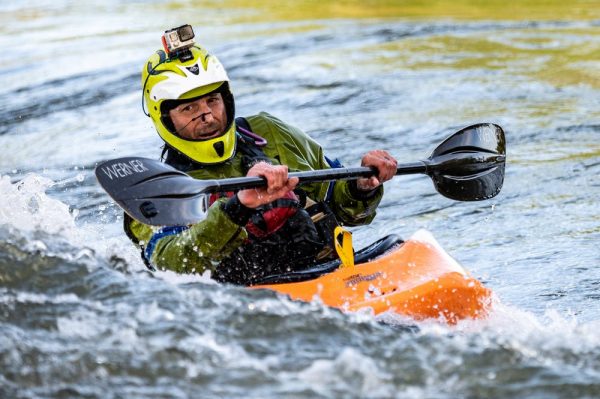
Most outdoor activities, such as mountain biking, skiing, or horse-riding, require the individual’s full attention. Being preoccupied while exerting yourself at the sport can make it difficult, or even impossible, to capture video footage from your perspective. This brings us to the invention of compact-sized helmet cameras, which are designed to be strapped on to a helmet for hands-free video recordings taken from the first-person perspective.
From being rudimentary cameras exclusively used to capture scenes for sports television, helmet cameras have now adapted to become a staple among fun-loving adventurers and sports enthusiasts around the world. Helmet cameras are actually pretty amazing because they provide the closest perspective any person can get to an experience. The most engaging content you can find online is taken with helmet cameras. They are also great for sharing your experience skiing down a mountain or riding a horse with your family and friends.
The use of these cameras also extends to other fields. That includes police work, military operations, rescue operations, newsgathering, and nature exploration. The military often uses helmet cameras during dangerous operations to account for their actions. The cameras are also very useful for capturing unusual and unplanned events that take place, which are often reported on social media or even used as evidence in court.
How Do Helmet Cameras Work?
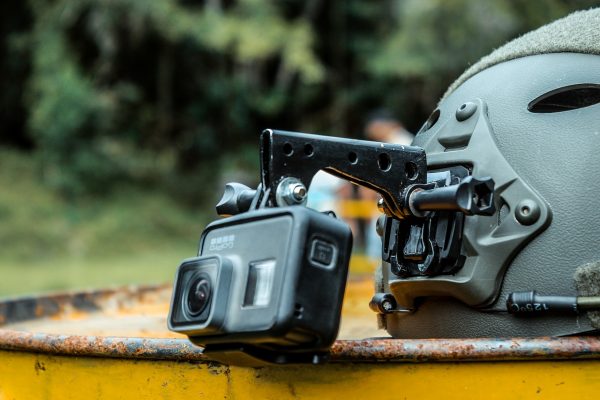
A donkey called a goose is still a donkey, and the same concept goes for helmet cameras. Helmet cameras are still digital cameras at their core, and they’re made up of the same parts as your standard digital camera, albeit with modifications. The key difference here is the fact that helmet cameras are designed to be mounted to – you guessed it – a helmet, thereby providing point-of-view footage from the user. Helmet cameras also need to be charged before and after use, and most have removable SD cards for transferring footage. Helmet cameras are usually sold separately from helmets, while some brands already package their helmet cameras with specially made helmets that are exactly compatible with the helmet camera.
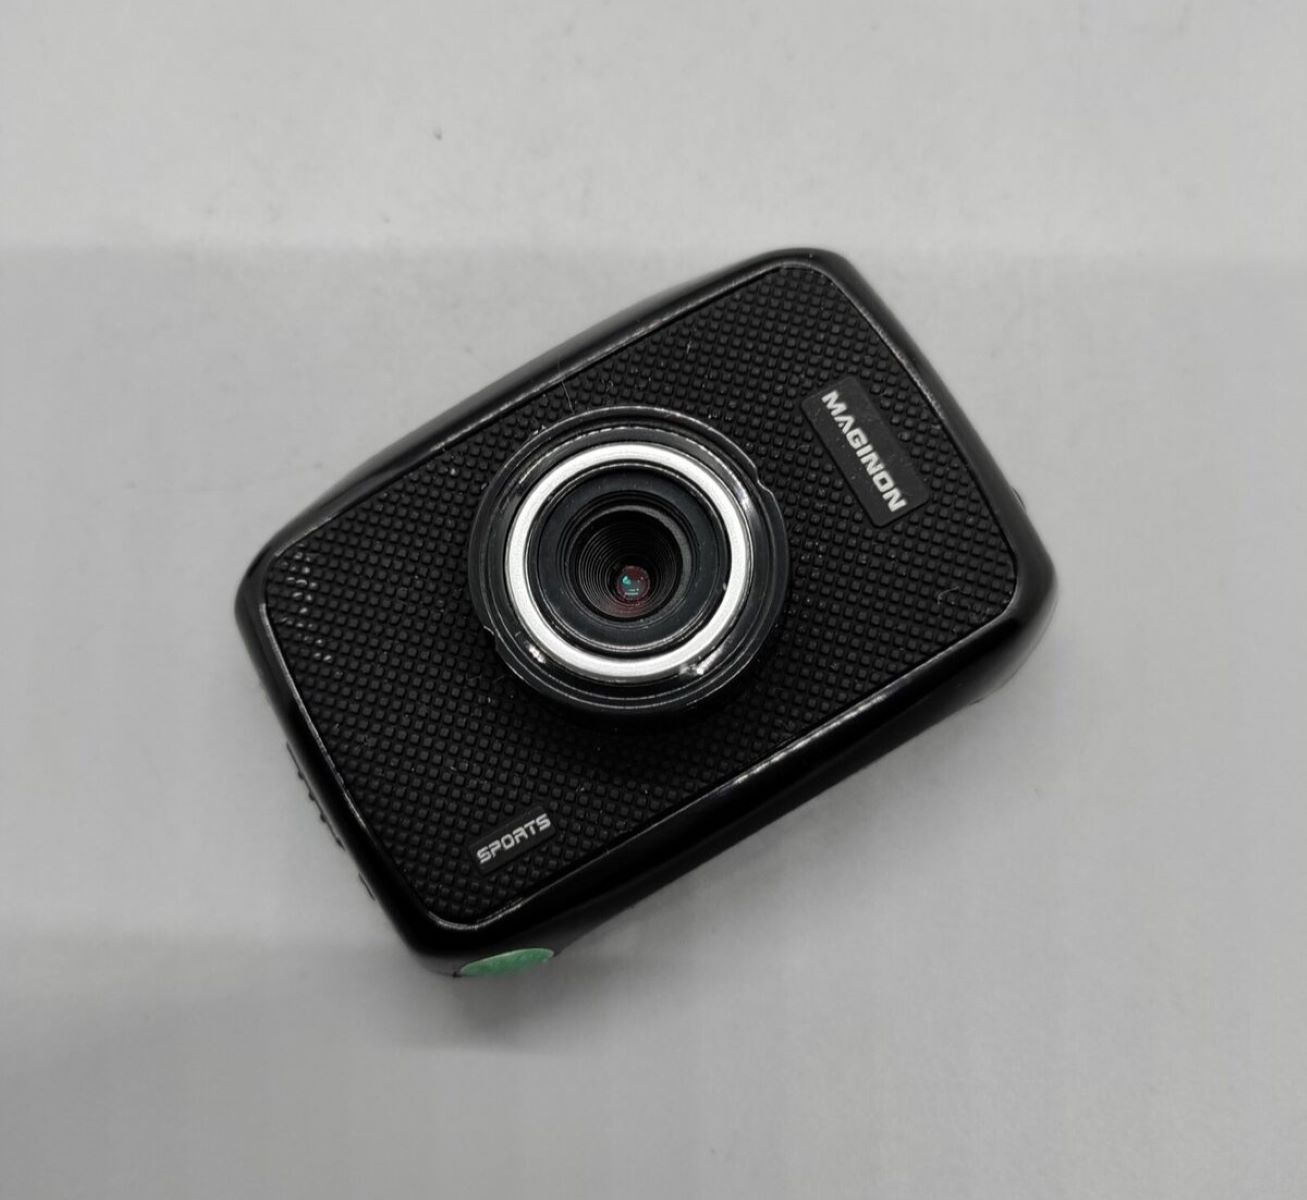
Helmet cameras generally fall into two categories: the simple, single-view camera and the two-way camera. The one-way cameras are often smaller and lighter, and they are usually advertised as the all-in-one camera type. These devices often require less power to operate but also tend to produce poorer quality images and generally do not work well in low-lighted environments. Users usually do not have control over the particular angle or quality of the footage. And often they need to connect the device to an external device with a video input capability, such as a camcorder or digital video recorder to view the content. On the other hand, larger two-way cameras often take up more power, but they also produce better quality videos, not to mention the ability to review footage, which is important for real-time checking of video quality, angles, and more.
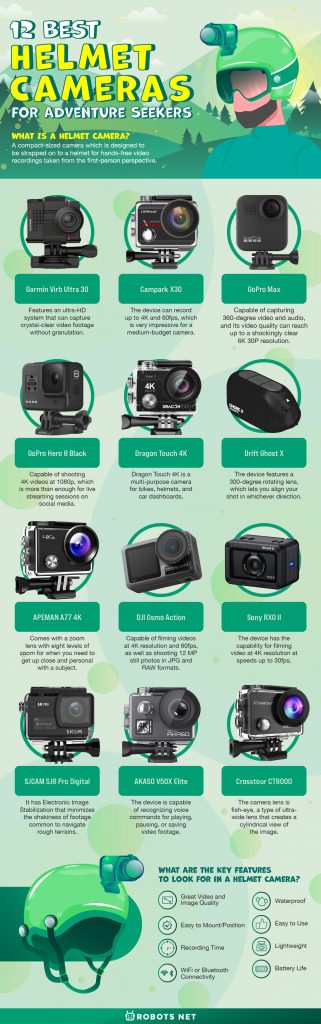
12 Best Helmet Cameras for Adventure Seekers
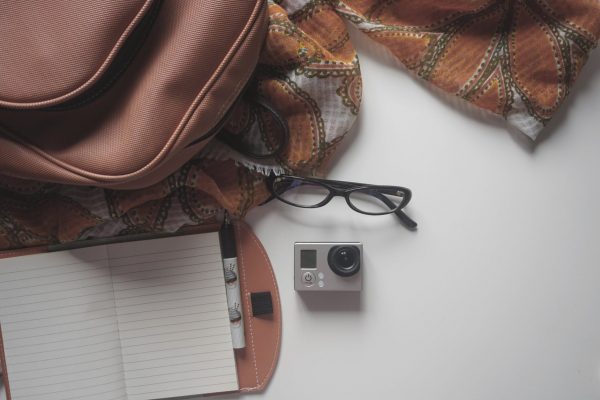
So you’re ready to hit the slopes of Aspen, Colorado. You’ve got your plane tickets ready, your bags packed, and your family notifications in order. You’ve also purchased your skiing gear, complete with snow glasses and a safety helmet. But before you leave to take that long-overdue adventure, make sure that you have also packed the right equipment to capture your best moments. Because let’s face it, by capturing your memories on video you can easily relive them as often as you want, and even share them with friends. Let’s take a tour of some of the best helmet cameras out there.
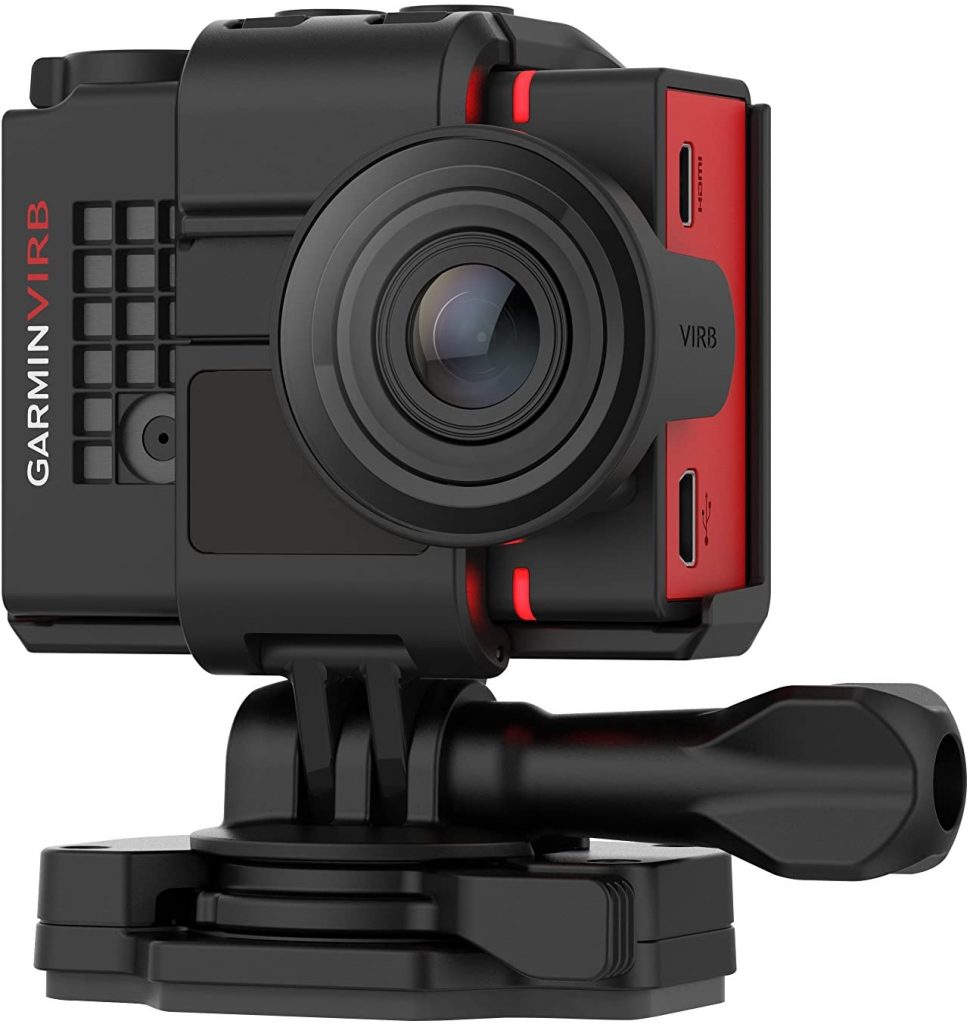
The Garmin Virb Ultra 30 by Garmin is an action camera similar in appearance to the famous GoPro range. The device features an ultra-HD system that can capture crystal-clear video footage without granulation. The device is also equipped with a built-in GPS and external sensors designed to work with other wearable Garmin devices, such as heart rate monitors. Matching the technology with other Garmin devices can give you crucial data like speed, elevation, heart rate, and G-force.
All functions of the device are available on its LCD color touchscreen. The device itself isn’t waterproof, but it does come with a waterproof case and a universal mounting system. That means you can securely attach the device to any sports helmet under the sun. And the best thing about this device is that you can use voice commands to start/stop recording and take photos and video footage completely hands-free.
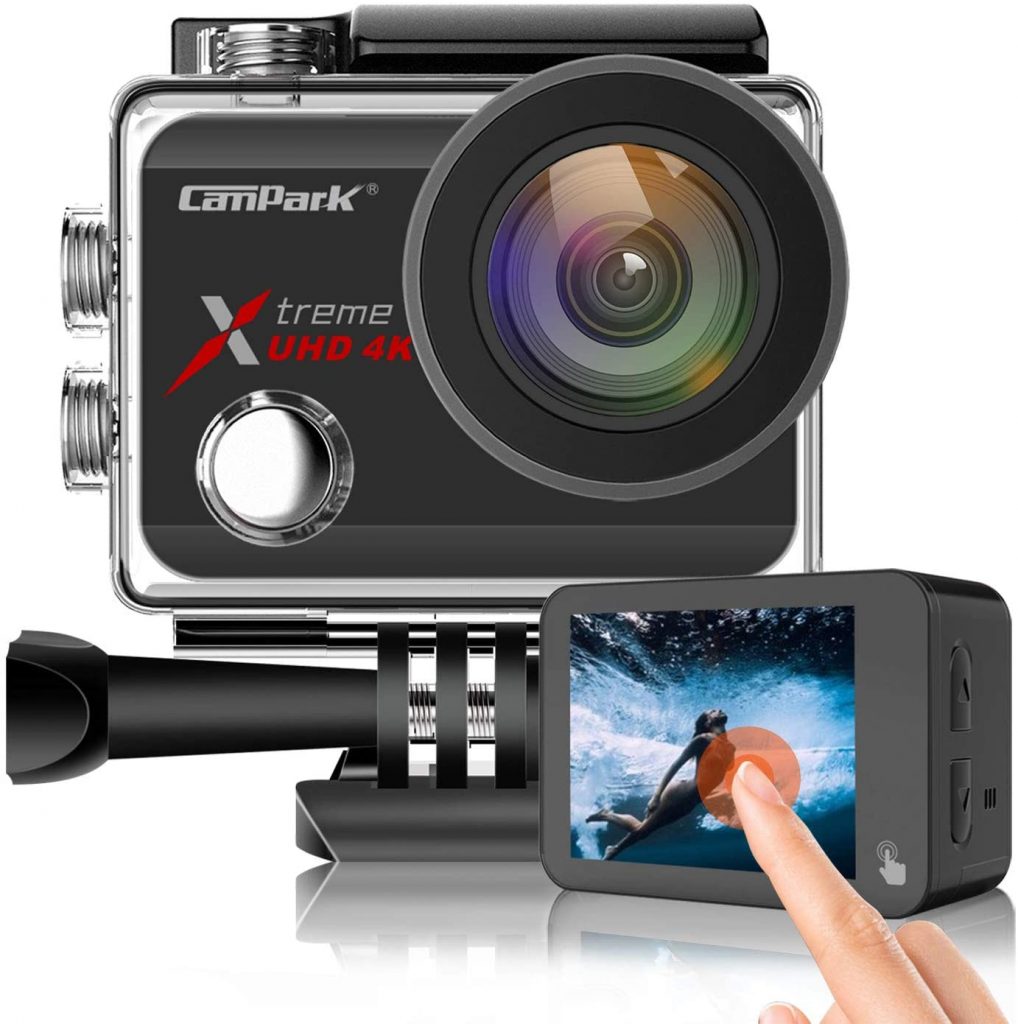
The Campark X30 offers GoPro quality images for a much lower price. The device can record up to 4K and 60fps, which is very impressive for a medium-budget camera. It also features an ultra-sensitive touch screen that shows all its options clearly and brightly. The device also has a Wi-Fi switch that allows you to connect to your smartphone to transfer files.
It also features extras like Time Lapse Video and Electronic Image Stabilization. The former can compress long footage into short videos, while the latter helps to keep your footage clear and stable under rocky conditions. The device also offers a variety of camera filters to help you enhance the images accordingly. The device is also waterproof for depths of up to 40 meters. The device also comes with two sets of rechargeable batteries to ensure that you don’t run out of juice in the middle of your adventure.
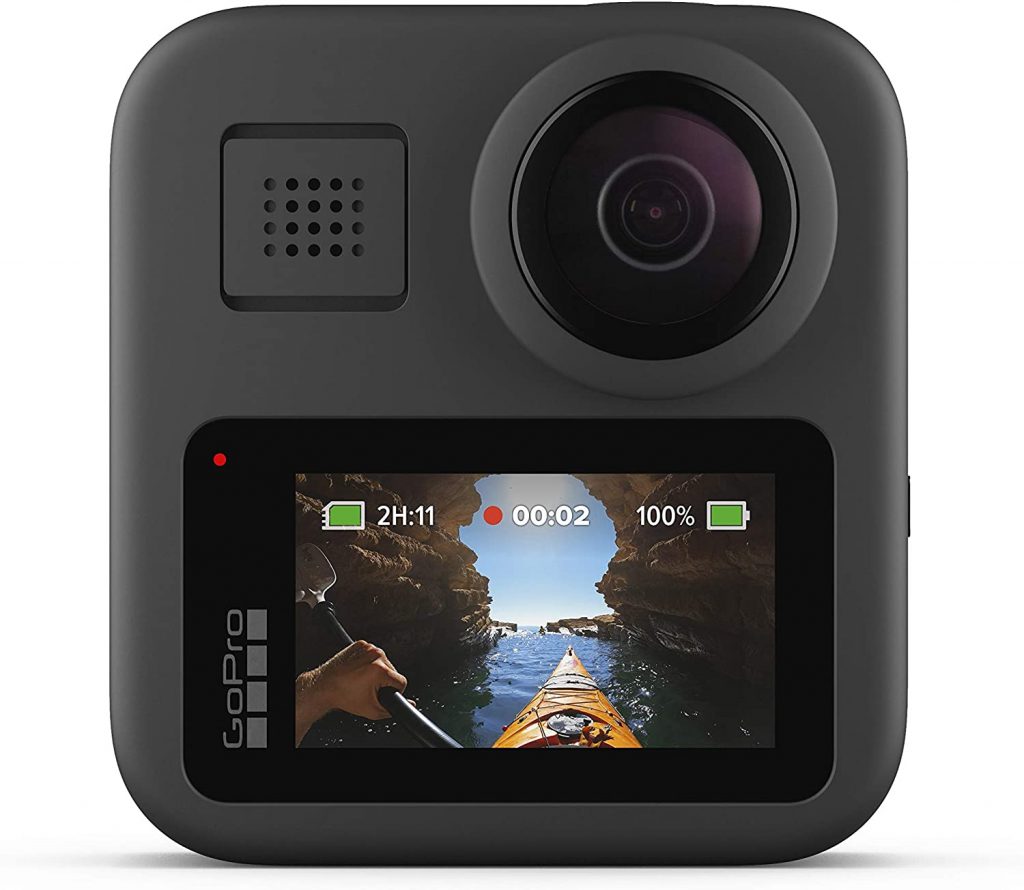
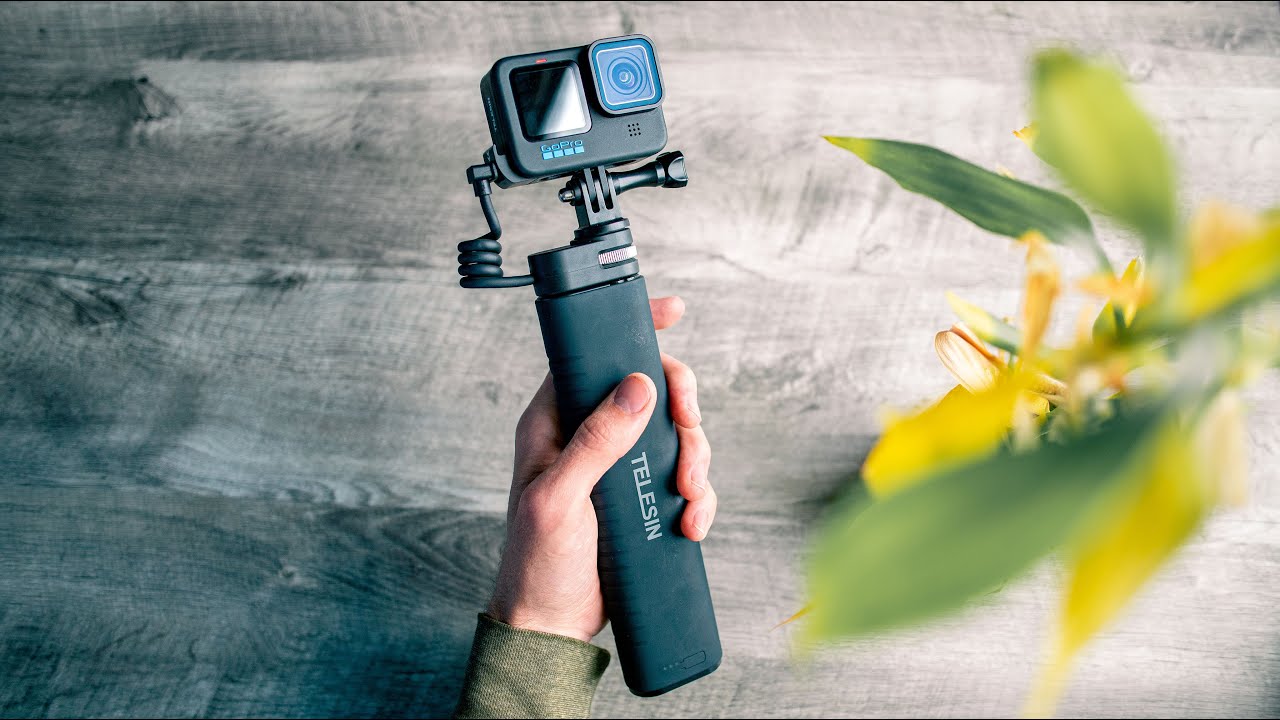
The GoPro brand is famous for its action cameras, but they have taken their name to the next level with the GoPro Max. The device is capable of capturing 360-degree video and audio, and its video quality can reach up to a shockingly clear 6K 30P resolution. Thanks to its touchscreen, you can view what you’re filming in real-time.
GoPro has always been keen on making their devices user-friendly, and that much is evident on the GoPro Max. The power button lets you toggle easily between various modes. You can also switch between different wide angles, resolution, frame rates. Aside from that, you can edit in real-time as well. A TimeWarp feature compresses hours-long footage into a few minutes. The device also comes with a soft microfiber bag to secure the device and an additional lens cover designed for shooting in the water.

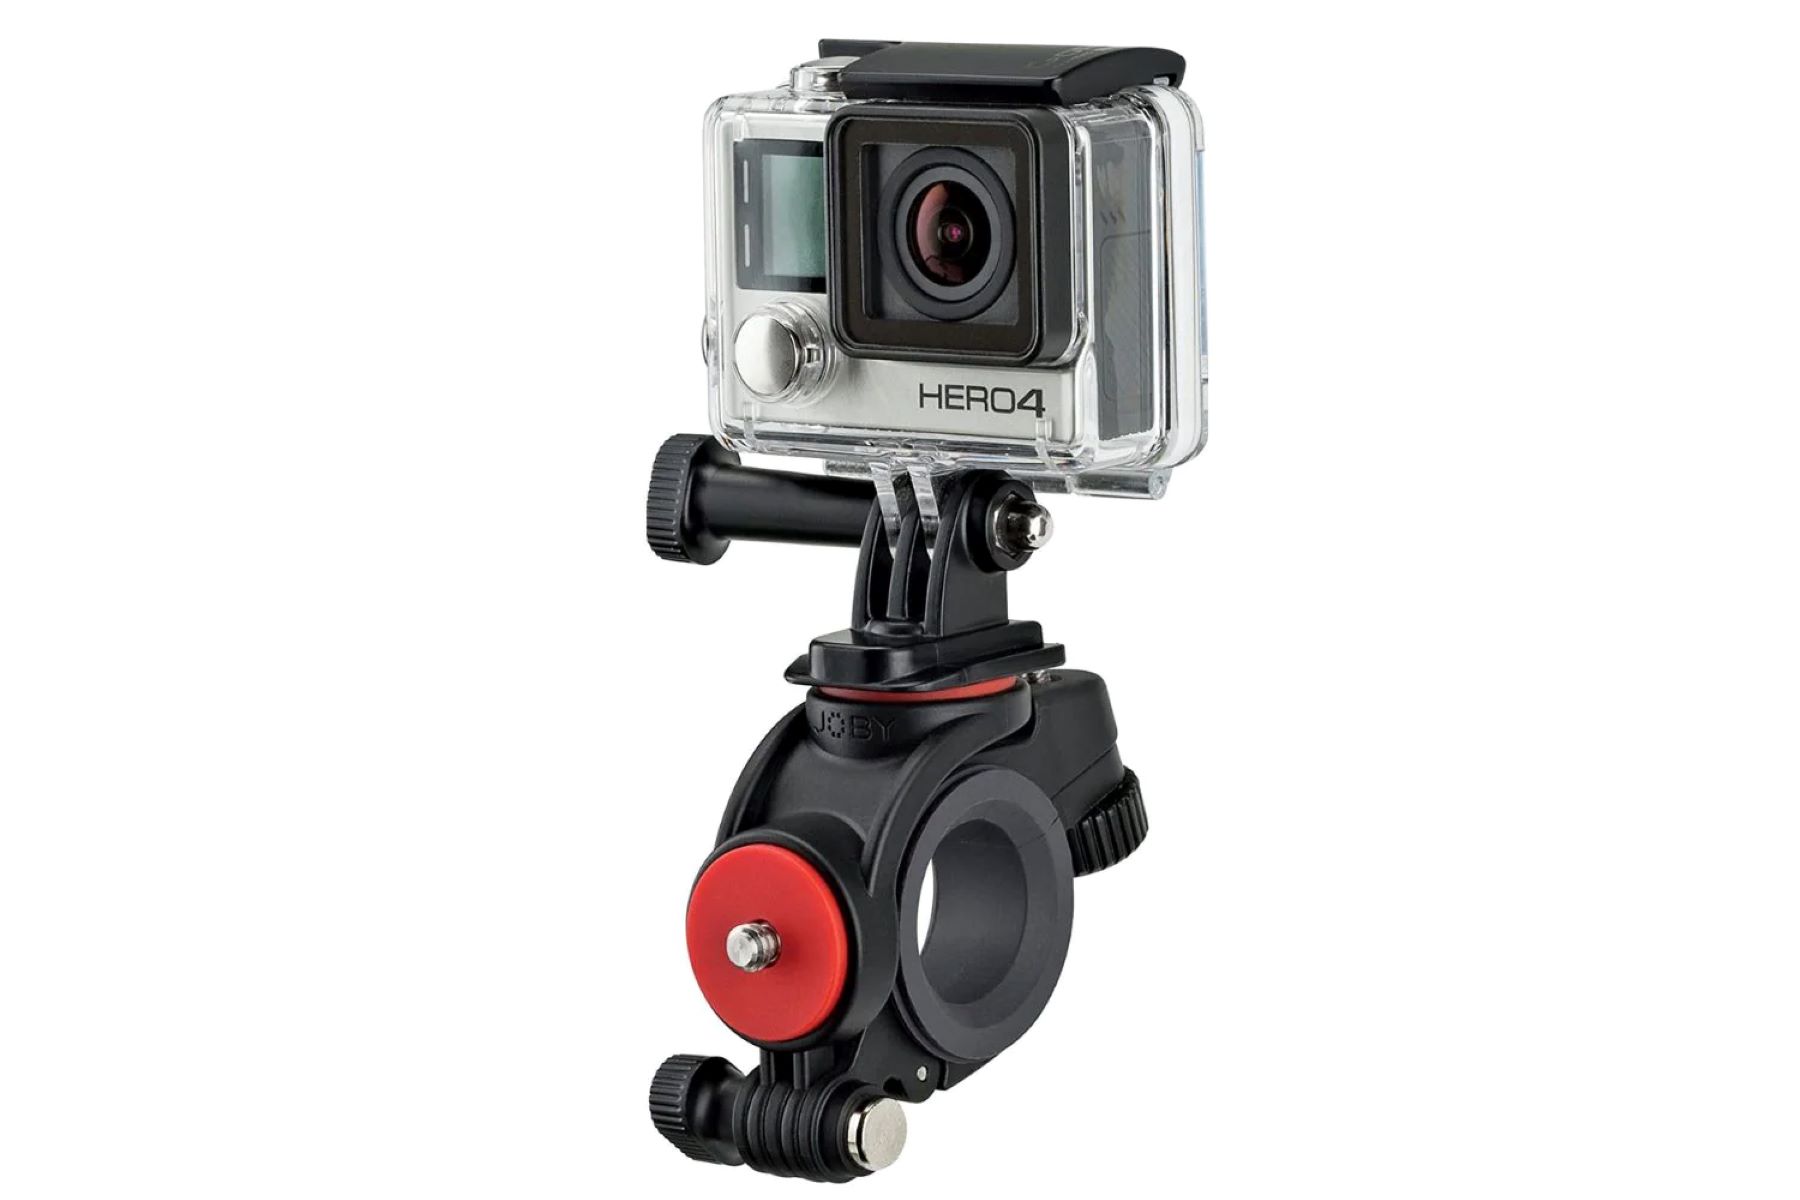
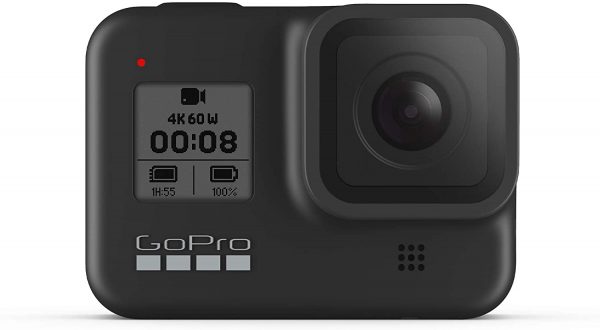
The GoPro Hero 8 Black is a timeless classic in the field of action cameras, and it set the standard for most of the cameras we have today. The device is capable of shooting 4K videos at 1080p, which is more than enough for live streaming sessions on social media. The device also features three levels of stabilization to keep your footage clear and stable across various levels of physical activity. It also comes with a screen where you can toggle between modes.
A Capture Presets feature also lets you switch quickly between settings for vlogging, fast action, or slow-motion capture. GoPro also made the device smaller to allow it to fit more easily into pockets. They added a side door for the batteries and re-designed the lens to become more resistant to physical damage. Then there’s the TimeWarp feature, which relies on motion detection to compress long footage.

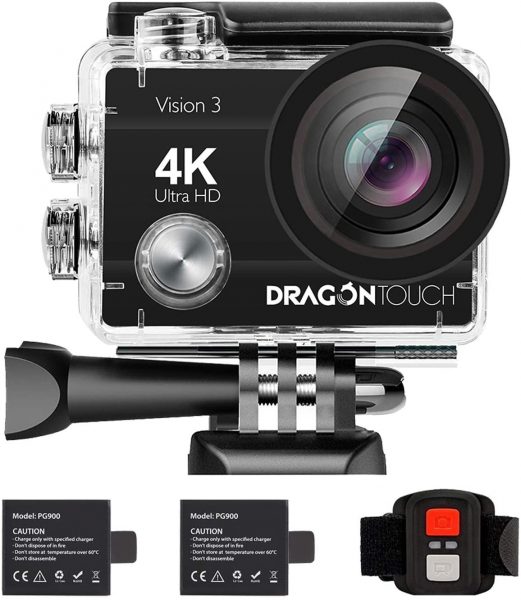
Dragon Touch 4K is a multi-purpose camera for bikes, helmets, and car dashboards. The device is capable of shooting 4K video quality at 30fps, and a maximum of 16MP for camera resolution. It comes with a smooth zoom range of 1.0X to 4.0X. The device comes with a strap-on remote control that goes on your wrist, and from which you can initiate, pause, or stop video recordings. You can also take photos using the remote control.
The Dragon Touch comes with various shooting modes that will make your shots more dynamic. It also has a Wi-Fi switch that will allow you to connect to the internet to send your files to your smartphone. Thanks to its waterproof case, you can use this nifty device up to 30 meters underwater.
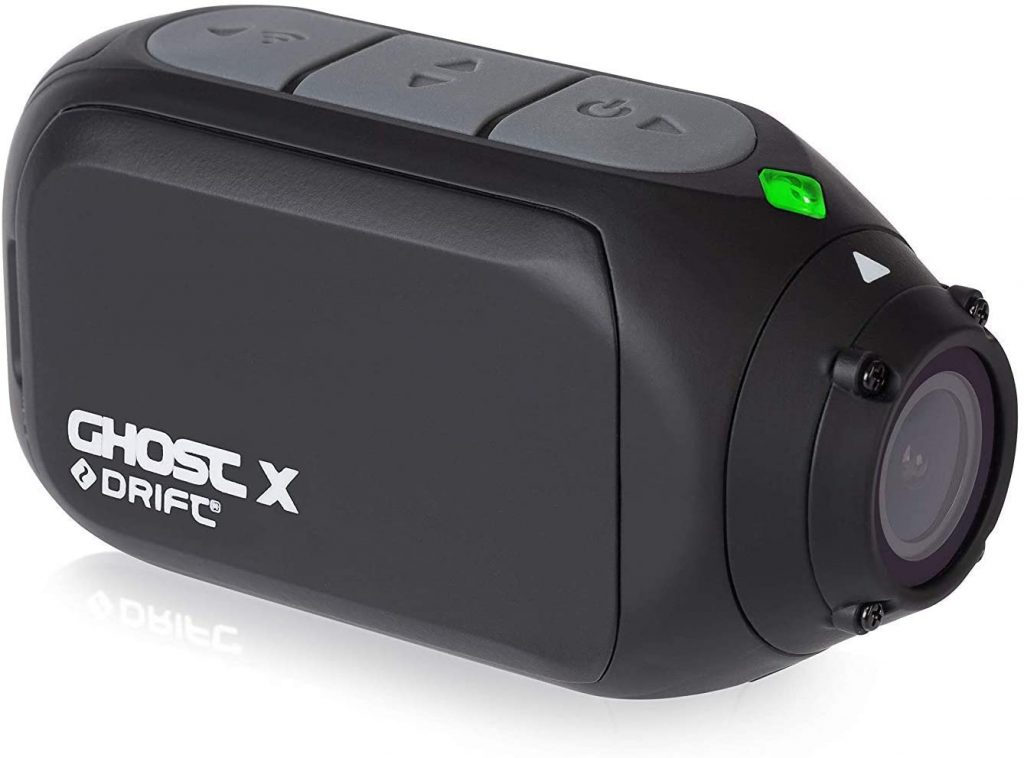
Drift Ghost X is another multi-purpose camera that can be used on both bikes and helmets. Video quality can reach up to 1080p at 30fps. A fully-charged device can go for five to six hours, which you can extend if you buy the long-life battery module.
The device features a 300-degree rotating lens, which lets you align your shot in whichever direction. It offers several modes, including a dashcam and motorcycle modes. These continuously capture footage when connected to a USB power supply. A video tagging feature also lets you save only the best parts of footage with a single press.
WiFi connectivity also lets you connect the device to the Drift Life app, where you can edit, live-stream, or live preview video content. The device is waterproof for approximately 40 meters. The package also comes with useful things like a mount holder, tripod, and universal clip.
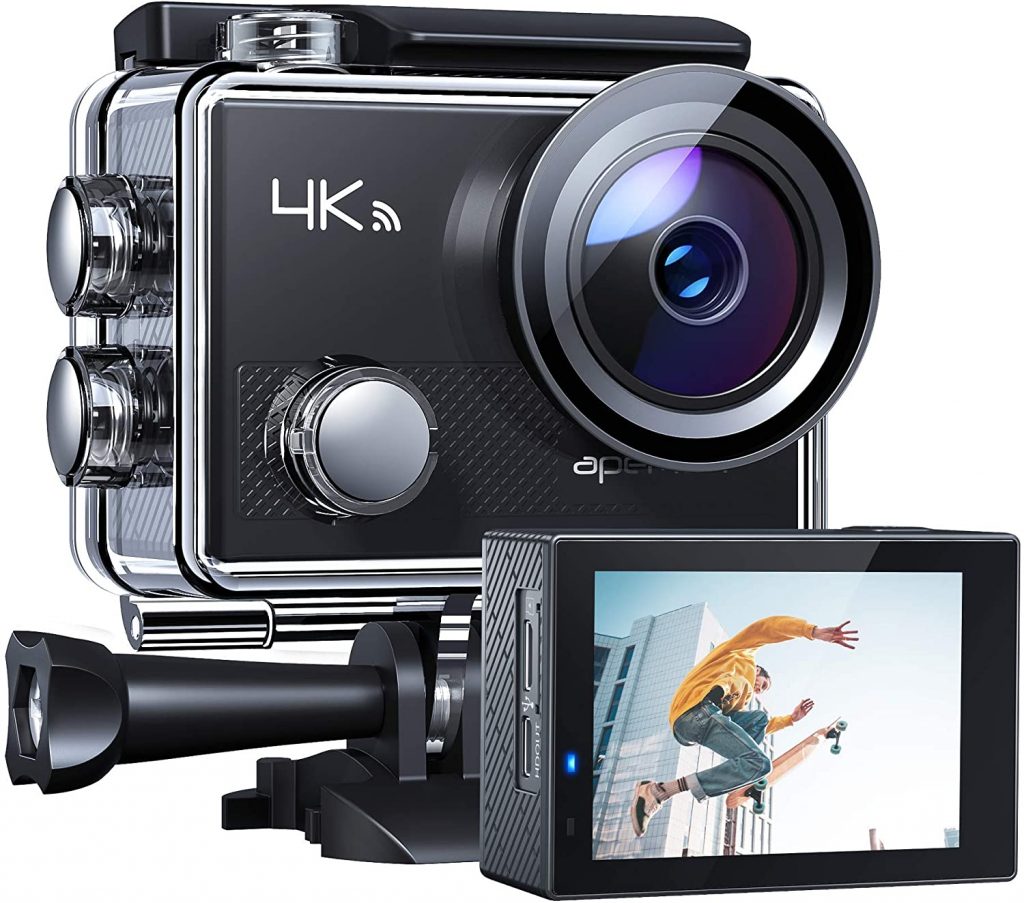
The APEMAN A87 Action is a budget camera with great features to match its price. At just 78 dollars, you wouldn’t believe that this device is capable of shooting at 4K resolution at 60fps. The device also comes with a zoom lens with eight levels of zoom for when you need to get up close and personal with a subject. It also features six professional modes to adapt to different environmental conditions, and you can quickly switch between various modes through the extra-sensitive touchscreen display.
To keep it stable the APEMAN comes with both electronic and gyro stabilization, perfect to combat those shaky hands. The device is capable of being remote-controlled via smartphone through the Apeman app. It’s also capable of transferring files wirelessly with a WiFi connection. This helmet camera also comes with a waterproof case that can protect your camera underwater.
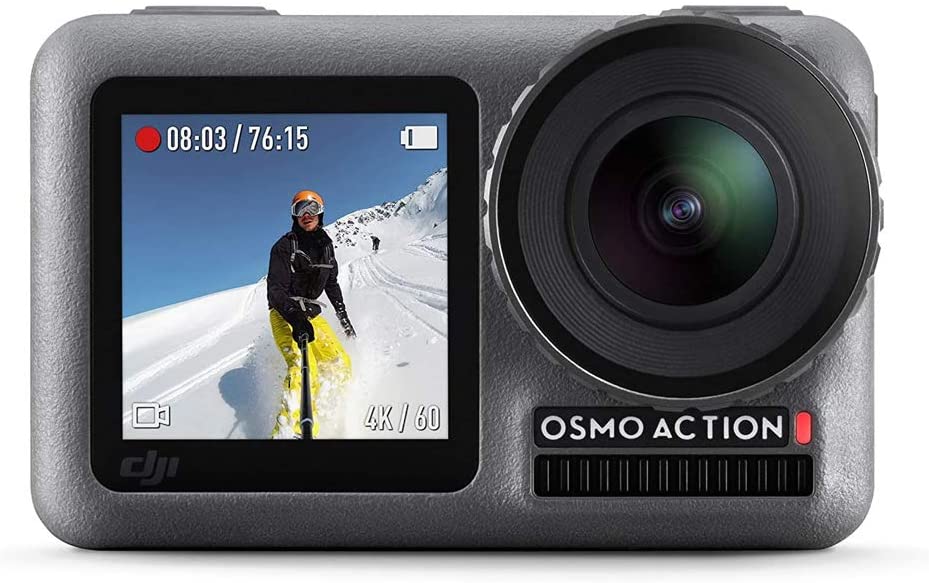
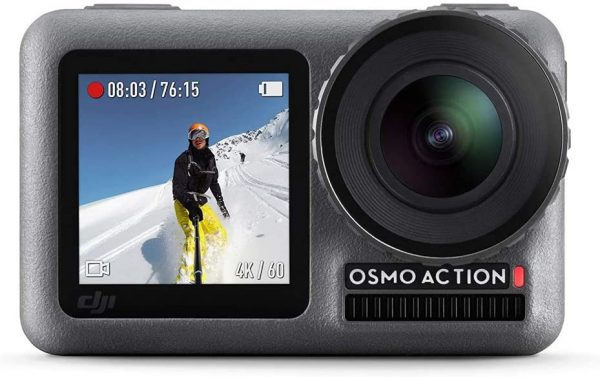
The DJI Osmo Action is a high-quality device that can rival the likes of GoPro, but for half the price. The device is capable of filming videos at 4K resolution and 60fps, as well as shooting 12 MP still photos in JPG and RAW formats. The device features a RockSteady technology that basically stabilizes the video footage under rocky conditions to preserve the steadiness of the resulting video.
There’s also 8x slow-motion capture for slowing down your footage, and the quality is still in 1080p resolution. And on the opposite end, a time-lapse function that can condense long footage into a short minutes-long video. The device is also waterproof for up to 11 meters, which is good enough if you’re doing other sports other than deep-sea diving. It comes equipped with useful accessories. This includes a camera frame, an adhesive mount, several sturdy batteries, and a USB-C type cable.

The Sony RXO II is a premium action camera from the famous brand. The device has the capability for filming video at 4K resolution at speeds up to 30fps. Some of its competitor cameras can shoot double this rate, but the Sony has several tricks up its sleeve that the GoPro doesn’t. It basically crams more video content per bit than the average brand, to maximize storage capacity. It also benefits from Sony’s Intelligent Auto mode that automatically selects the best mode as per shooting conditions.
The RX0 II can now shoot in a profile that will produce images that can match other cameras during post-photo editing. Each device is also designed to work with different units at the same time, which means you can operate up to five devices through your phone. You can dip this camera underwater up to 33 feet, and it is also resistant to minor physical shocks.
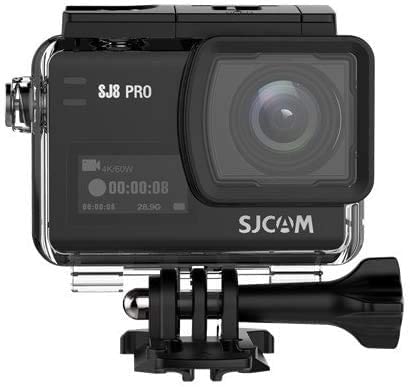
The SJCam SJ8 Pro digital action camera is another budget option that costs less than 100 dollars. The device can record video up to 4K at 60fps, with amazing capabilities at color reproduction. It also has Electronic Image Stabilization that minimizes the shakiness of footage common to navigate rough terrains.
At the front of the device is a small touchscreen consisting of a user interface and the device’s vital stats. That includes indicators for mode, battery life, space, and recording status. The camera itself is encased in sturdy plastic to withstand water for up to 10 feet, along with physical shocks and dust. And if that isn’t enough, you can encase it further inside the waterproof case that comes with the package. A door at the bottom of the camera contains the rechargeable batteries and the USB Type-C port. The device also comes with an app from which you can control the device.
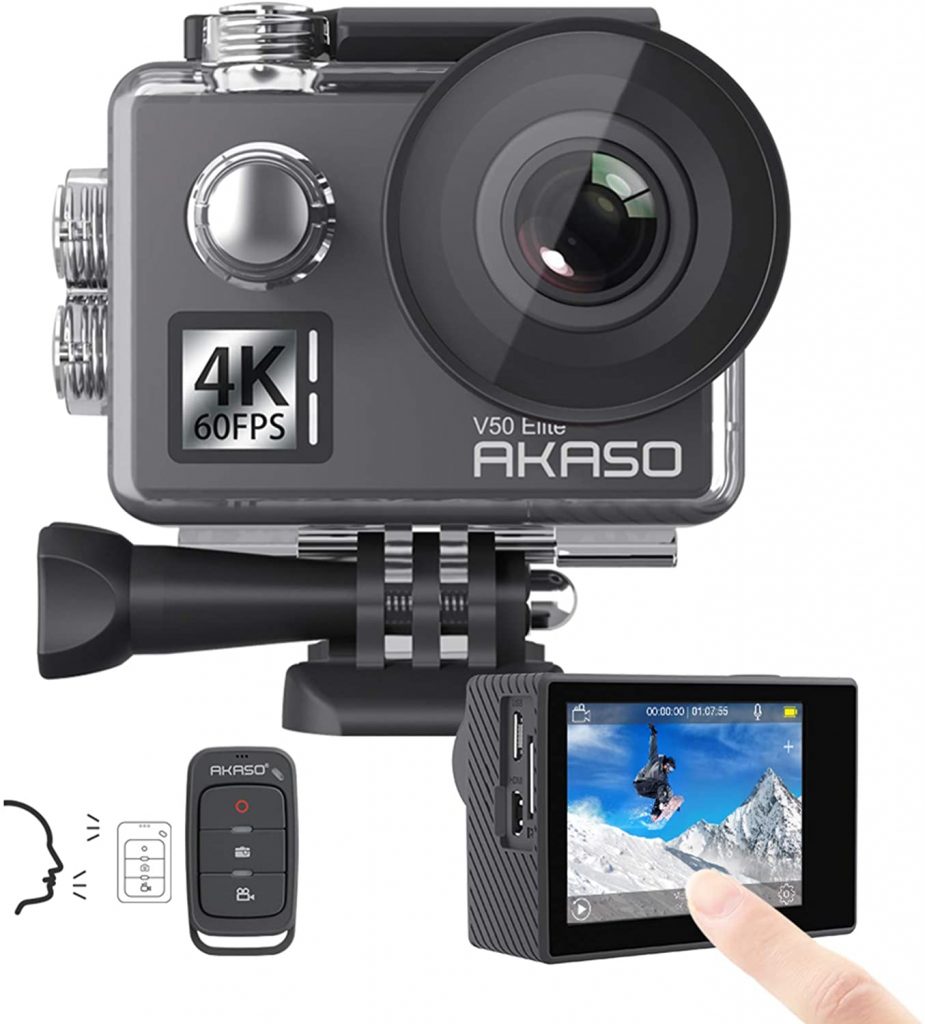
AKASO V50X Elite is a reasonably priced helmet camera that seeks to rival the GoPro. Its maximum resolution is 4K at 60fps speed. On the other side of the camera is a small HD touchscreen that you can use to access the device’s basic settings and modes. The device is also capable of recognizing voice commands for playing, pausing, or saving video footage. Moreover, it can stabilize itself during filming to prevent shaky footage. The view angles have three options: wide, narrow, and medium view.
The camera comes with a clear plastic case that needs to be used to make the camera go underwater, and it can do so for up to 40 meters. The device is powered by rechargeable batteries, which can be recharged through the USB port. There’s also a WiFi switch that people can use to send files to their smartphones.
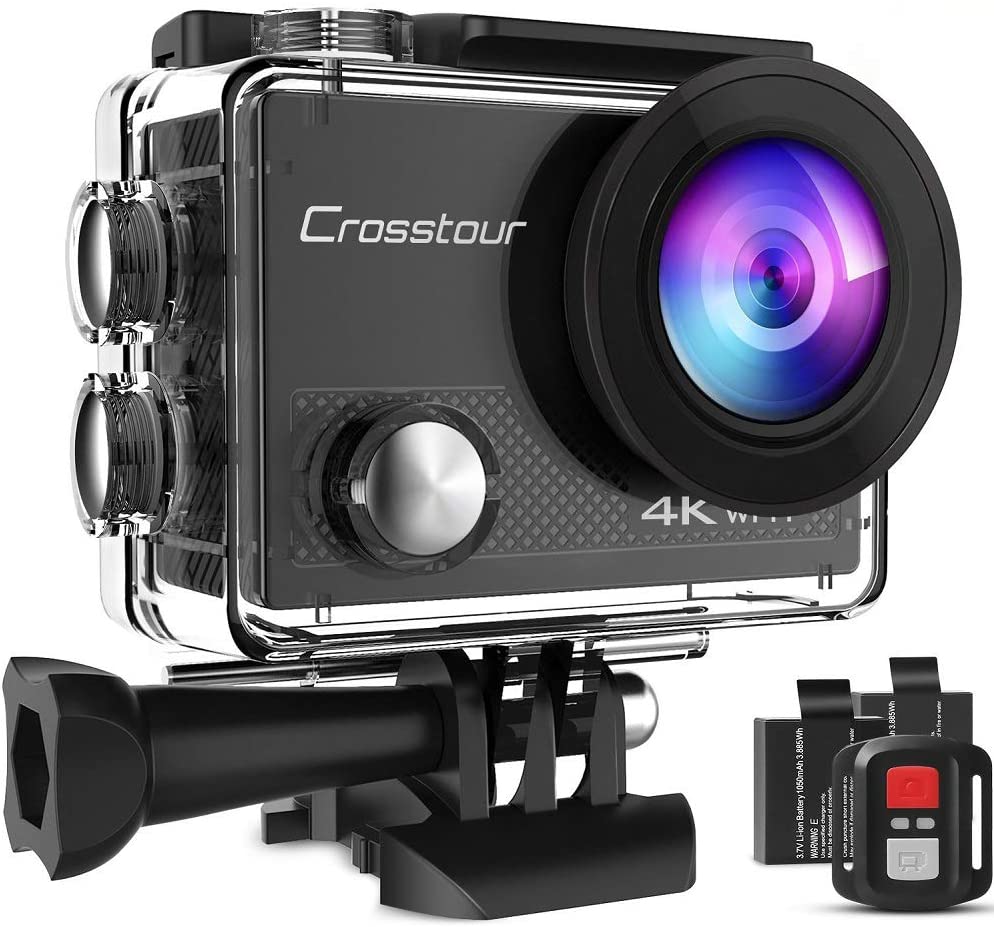
The Crosstour is another middle-priced GoPro knockoff that seeks to deliver value for money. The device can record 4k videos at 25fps speed and 12M quality for images. The camera lens is fish-eye, a type of ultra-wide lens that creates a cylindrical view of the image. Not everyone might want their videos to have this effect, but you need to make that decision beforehand.
Unfortunately, the device doesn’t come with stabilization features, and the batteries are limited to only 90 minutes per charge. Thankfully for the rest of us, the device makes up for what it lacks with awesome accessories. You get two extra batteries, the waterproof plastic case, several bases, a wiper, and remote control, among other things. Using the spare batteries can give you additional three hours of shooting time. The device is also connected to WiFi, which means that you can digitally transfer files.
What Are the Key Features to Look for in a Helmet Camera?
There are a wide variety of helmet cameras out there, each with its own set of specifications. Since you’re going to use the camera outdoors, they need not be fussy nor delicate and must be able to record video hands-free. You also need to know beforehand what video project you’re using it for. Suppose you are a casual adventure seeker with no plans to go deep-sea diving.
In that case, you might not need a camera that’s waterproof for more than a hundred meters. Not every feature is relevant to your purpose, and not all brands are worth investing in. To help you pick out the best helmet cam for your particular adventures, we’ve listed some basic features to watch out for.
Great Video and Image Quality
This is one of the most important features of any camera since nobody wants to see grainy and undiscernible footage. Most helmet camera brands nowadays offer cameras that can shoot in 4K quality, coming with faster frame rates and super-smooth video footage.
For those not familiar with photography language, 4K is otherwise known as HD. This is the type of quality that preserves the quality and resists pixelation when the image is projected onto a larger screen such as a computer or television. This is the best quality you want if you’re keen on video quality. You shouldn’t hold back on price, especially if you intend to use the photos for professional purposes.
When it comes to image quality, all we can say is, the higher the better. Most action cameras come in the 12 to 16 MP range. These are far less than the capability of DSLRs, which often reach up to 40 MP. Nevertheless, this range is enough to produce detailed and beautiful photos. And of course, you can always turn your photos into an art project and do some editing to make them worthy of Instagram and Facebook.
Check out this beginners’ guide on how to edit photos. Don’t forget to touch up those amazing adventure photos and learn how to use Lightroom.
Waterproof
Let’s face it, mother nature is very unpredictable, and there’s bound to be some kind of precipitation anywhere you go. It doesn’t matter if you’re at the beach, atop an icy mountain, or in the breezy countryside. Your camera is still an electronic device, so it needs to stay dry at all costs. This is why having a waterproof camera or a waterproof mounting box for the camera is important.
Easy to Use
This doesn’t require an in-depth explanation, but obviously, we want a device that we can control and learn to control within a few minutes. Nobody wants to play a game of chess in the middle of an adventure, so the device has to be simple and easy to use.
Lightweight
The human head isn’t designed to carry any weight at all, although it can definitely carry a few pounds. We don’t need to try on those classic cameras atop sports helmets to know that they are heavy and uncomfortable. Luckily for us, the majority of the cameras weigh no more than 150 grams because anything than that is bound to cause discomfort or even a headache. You’ll be wearing the device for a few hours or even all day. So your best bet is on a device that can nest comfortably atop your head without being too burdensome.
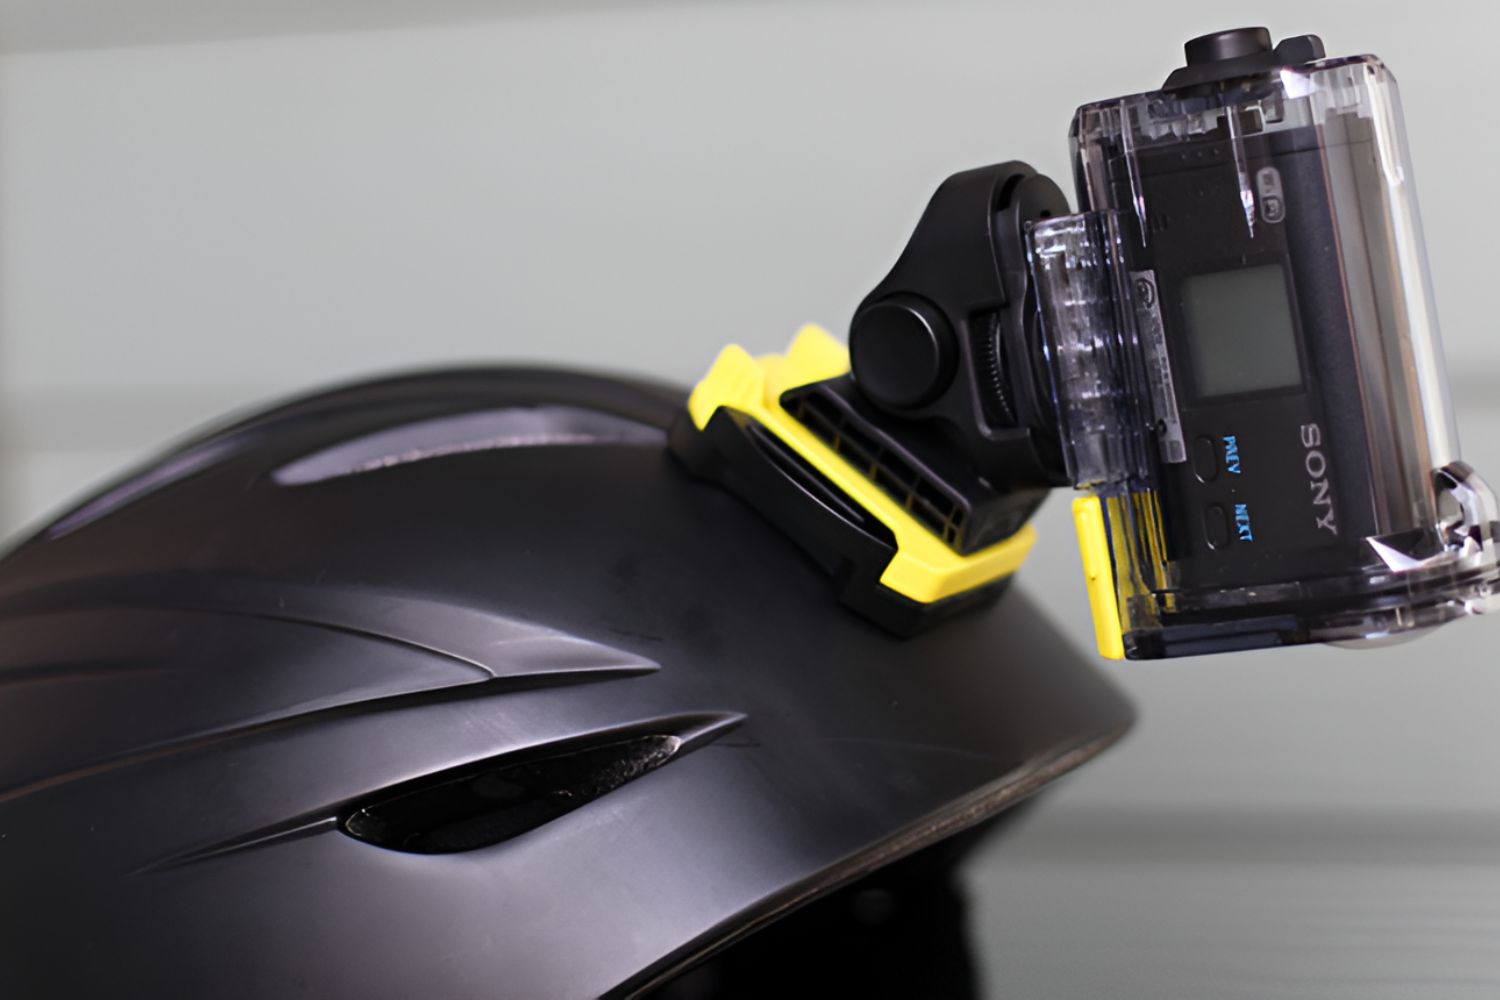
Easy to Mount/Position
Helmet cameras aren’t cheap, so you want to make sure they stay intact for long enough until they have met their purpose for a couple of years. And to do that, you also need to ensure that they don’t fall off your head (or from other places) since this will obviously compromise the integrity of the device. You also would not want to have to re-fasten the device several times over, as that would be plain annoying. The camera also needs to stay in position so as to reduce “shakiness” or instability in the resulting video footage.
Recording Time
All helmet cameras available in the market come with internal memory. The internal memory determines how much footage you can squeeze from the device before it needs to be supplemented with an SD card. Aim for the highest internal memory you can find. But then again, you can always supplement the internal memory with an external SD card with a large memory if you want to make sure you don’t run out.
Battery Life
Most helmet cameras are built to be so much smaller than digital cameras, but that makes you wonder how much space is in there for the battery. Despite the restrictions in size, many manufacturers have been able to beat expectations with battery longevity that can last for up to ten hours per charge. Aim for a camera with at least this much battery life, and the higher you go, the better. Also, aim for cameras with rechargeable batteries that can be replaced with spare batteries in case they die out in the middle of an adventure.
WiFi or Bluetooth Connectivity

Traditional cameras used to have SD cards to pull out and plug to your computer to extract files. But there are now camera offerings that can connect to your WiFi or Bluetooth to allow hassle-free file extraction and transfer. Between manual and wireless file transfers, the latter is much more convenient.
Final Thoughts on the Best Helmet Cameras
When GoPro released its very first Hero camera series back in 2014, the public response was overwhelming. Many brands followed suit and developed their own version of the GoPro with new specifications. Nowadays, at least a hundred electronics companies develop the same, and the number of options can be overwhelming. This can be a real problem for people who have an important choice to make and so little time to discern their choice.
But regardless of your circumstances, research is always important. Don’t fall into the trap of buying a device because of its appearance or simply because it’s popular. Maintain an open mind and scrutinize the brands before making a purchase. And once you’ve captured that amazing footage, you can proceed to edit and convert them using the best video editing software and the best online video converters available.